
Table of Contents
Installation
Operation
Battery Replacement
Tamper Application
Trouble Shooting
Installation Instructions
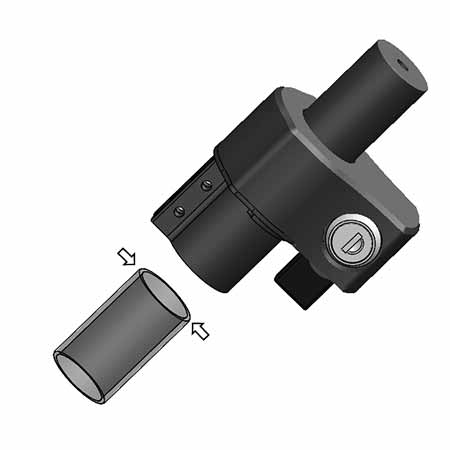
Verify your steering tube is compatible
Quick Stop is compatible with most modern steering tubes. Quick Stop works with 1 1/8 inch threadless steering tubes. Measure the diameter of your steering tube to make certain that the tube is of the proper diameter. (Some steering tubes are one inch in diameter.)
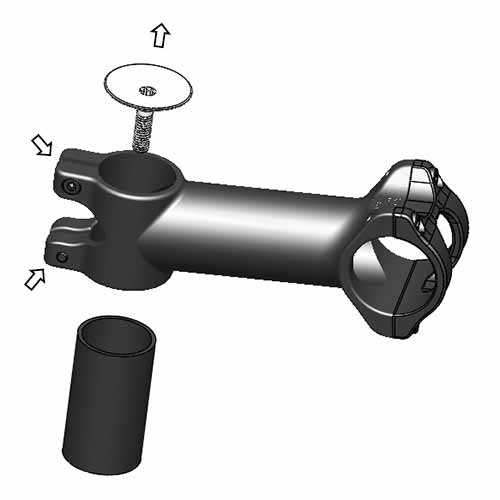
Remove your steering tube compression bolt
The steering tube is held secure using a 6mm compression bolt and cap found at the top of the tube. Unscrew the bolt from the steering tube and remove the bolt and cap.
Remove your handlebar/stem assembly from the steering tube
Loosen the two screws holding the handlebar stem to the steering tube until you can lift the handlebar/stem assembly from the tube. Lift the entire assembly and remove it from the steering tube. Let the assembly hang from the brake and gear cables.
Adjust the steering tube spacers
Quick Stop requires 1.125 to 1.25 inches of exposed steering tube above the tube spacers. Remove or add spacers in order to achieve this. If you do not have the correct thickness of spacers to achieve this, they can be secured from most bike shops.
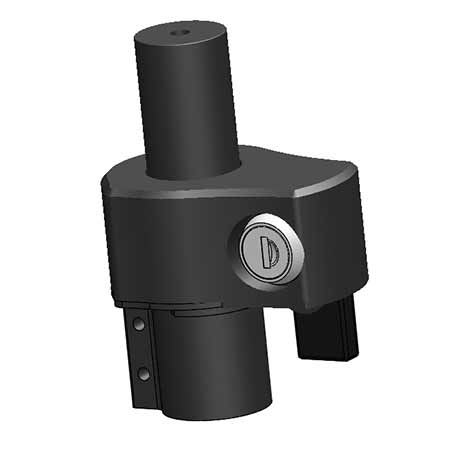
Attach Quick Stop to your steering tube
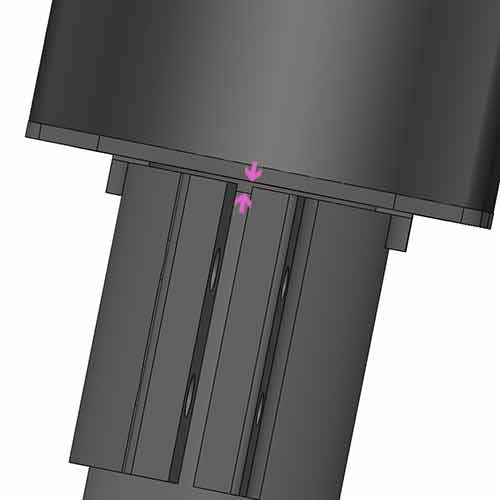
Slide Quick Stop onto the steering tube. Make certain there is a gap between the top of the steering tube and the bottom of the lock body.
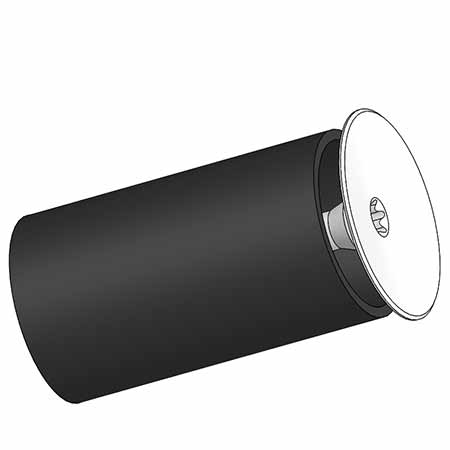
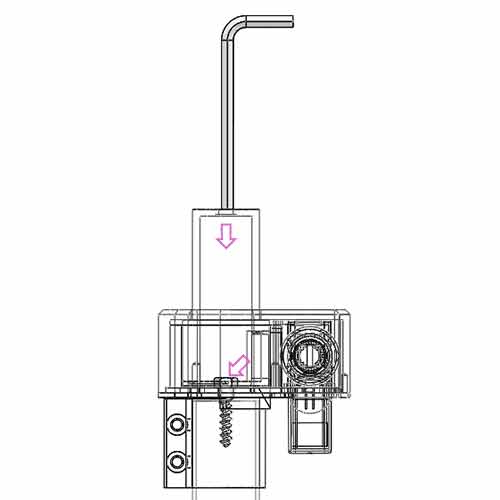
Remove the dust cap from the top of the Quick Stop Lock. Insert a 5mm allen wrench into the slot until it engages with the screw inside the lock. Tighten the screw securely (5Nm to 6Nm) to the compression nut or star fangled nut inside the steerer tube.
Tighten the 2 Quick Lock clamp screws to the steering tube (approximately 5Nm will do).
OPTIONAL: Before tightening the 2 clamp screws, rotate the lock so that it is symetrical about the plane of the front wheel. This is not necessary but creates a nice look to the finished assembly.
Attach your handlebar/stem assembly to Quick Stop
Insert your handlebar/stem assembly onto the Quick Stop post. If your brake/shifter cables are too short to allow you to do this, you should remove the stem from the handlebars, assemble the stem to Quick Stop, and re-attach the handlebars to the stem.
Align your handlebars/stem assembly with the front wheel and tighten the stem screws to Quick Stop. Make sure to maintain a 1/16 inch gap between the stem and the top of the Quick Stop lock body.

Operation
Unlocking your handlebars
Quick Stop is shipped with the lock in the locked position. To unlock Quick Stop, insert your key into the key slot and rotate the key 90 degrees clockwise. At this point your handlebars will rotate independent of the front wheel. CAUTION: do not attempt to ride your bike with Quick Stop unlocked.
When the lock is in the unlocked position, the tamper detector is activated and power is being drawn from the battery. Do not leave the lock unlocked if you want to preserve batteory power. The battery is capable of operating a minimum of 400 hours.
Locking your handlebars
Align your handlebars with the front wheel so that the lock tab is aligned with the lock slot. It is easiest to do this bike standing in front of the bike with the front wheel between your legs while rotating the handlebars. Place the key in the key slot. Apply pressure, rotating the key counter-clockwise while rotating the handlebars until the key tab rotates into the slot.
Positioning your bike when unlocked
Place your bike for maximum effectiveness and least disruption. Place your bike in a location where it is unlikely to be knocked inadvertantly. If the bike is jostled, the tamper detector will be activated calling you back to check on the bike.
If possible place your bike parallel to the building/store/area that you intend to occupy while your bike is unattended. Doing so will help assure you get maximum transmission distance for the tamper detector. (The tamper detector can operate up or beyond 300 ft depending on the environment.)
Battery Replacement
The Quick Stop tamper battery is designed to last more than 400 hours (with the lock in the position). Under many common operational modes, the battery should not need to be replaced for several years.
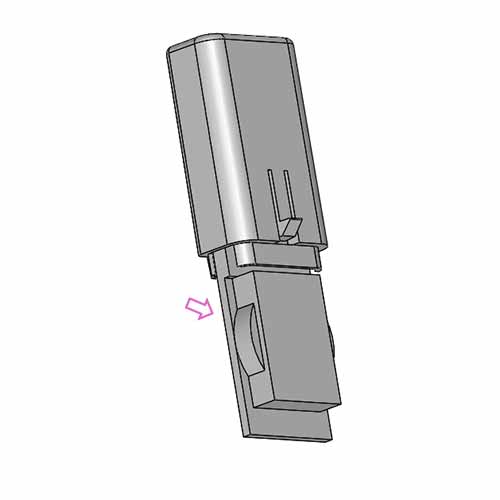
Removing the tamper detector module
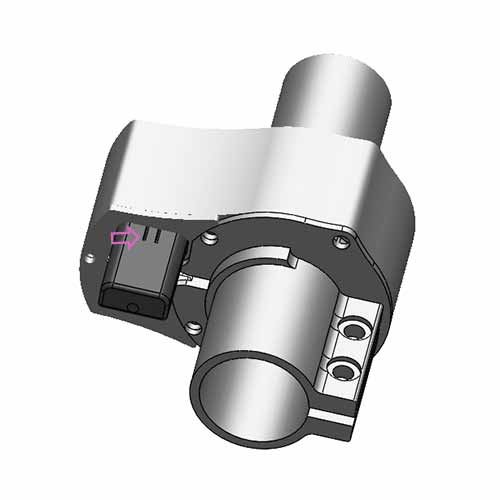
To replace the battery, remove the battery module. The battery module is snapped into the bottom of the lock, protruding from the bottom. A snap latch on the outside of the module secures it to the lock. Using a pen or other narrow tool push in the snap tab, while pulling the module down.
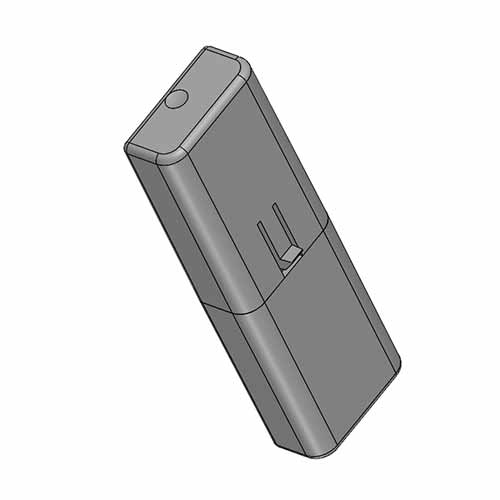
The module will pull free of the lock. It may pull free with the entire module case or only one-half of the case. If the entire case comes out open up the case by pulling the two halves apart.
Replacing the battery
Pull the circuit card out of the case and remove the battery. Insert a new CR-1632 lithium battery and reassemble the module.
Re-installing the tamper detector module
Push the module back into the slot making sure it clicks into place. The snap must be facing toward the outside of the lock for it to insert properly.
Tamper Application
Quick Stop comes with a controller application so that you can monitor your bike's safety while you are away from it using a cellphone.
Getting the application
The application is available for Android phones as well as Apple branded phones. To get the application go to Google Play Store on your phone and search for "Secure Quick Stop". Or for iPhones go to the Apple App Store on your iPhone and search for "Quick Stop Bike Lock". Download the application.
Pairing Quick Stop to the application
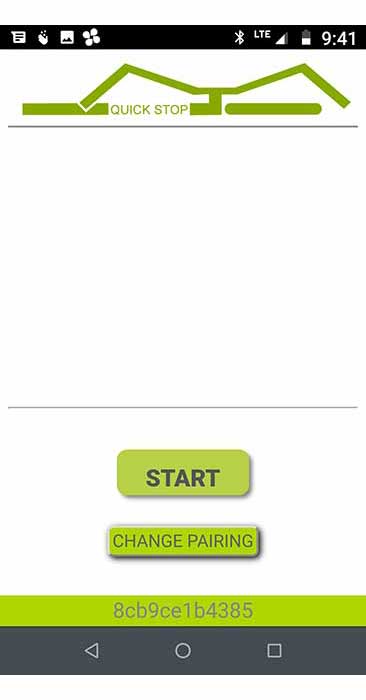
Once the application is downloaded and opened you will need to pair the phone with your bike lock. MAKE SURE THAT QUICK STOP IS UNLOCKED (handlebars turn freely), bluetooth is enabled on your phone and you are near your lock. Click on the "CHANGE PAIRING" button. Quick Stop will automatically begin scanning for available devices to pair with.
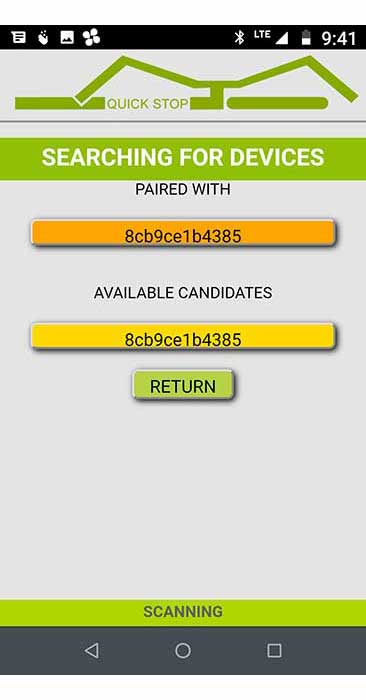
They will be listed beneath the "Available Candidates" section. Unless there are other locks in the area you will only see your bike lock code. If you do not see any candidates make sure bluetooth is running, your battery is good, the lock is unlocked and you are in the vicinity of the lock.
Select the device you want to pair from the list. It's id will appear in the gold bar. Click RETURN. You have completed pairing the phone to the lock.
Running the application
Running the application is simple once the lock is paired. The first thing to do is place your bike where you want it sit while you are away. Remove any items from the bike you plan to take with you. Put away any items on the bike you plan to leave with it. You are now ready to activate the lock tamper.
With the bike where it will stay, turn the lock to the unlocked position and rotate the handlebars parallel to the bike. This will indicate to others that the bike is not operational. Once the lock is unlocked you have 20 to 25 seconds before the alarm activates.
Turn on application and select START. If the alarm has activated you will see a pulsing green circle indicating the bike is being monitored.
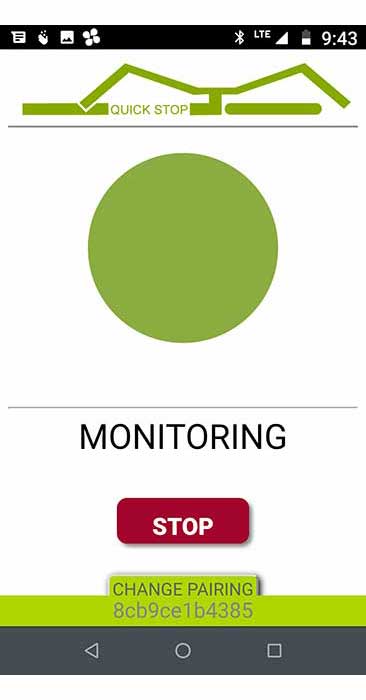
If the alarm is still activating, you will see a yellow pulsing circle indicating the bike is out of range. Once the lock activates it will change to green.
If you walk out of range of the bike the monitor will change to yellow and a short alert tone and vibration will occur.

If you walk back into range the pulsing disk will return to green.
Should your bike be disturbed (about a one second long jostle) the alarm will be activated. The pulsing disk will change to red, the phone will vibrate, and a repeating alert tone will sound. This indicates you should return to your bike to check on it.
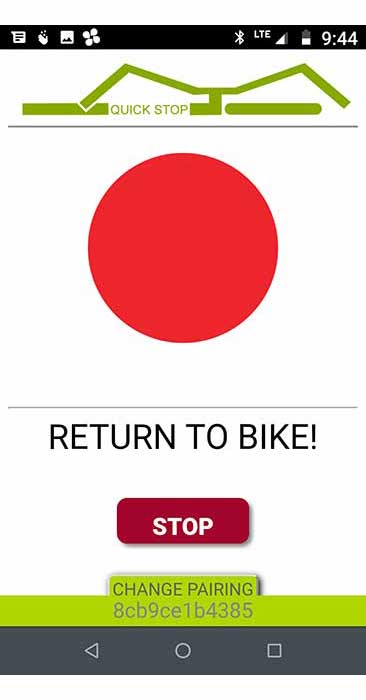
To stop the alarm select STOP. To reset the alarm, lock the bike, leave it for 5 seconds and unlock it. If you do not reset the alarm, the application will start up in the alarm state and continue with the alert message.
Trouble Shooting
The handlebars don't feel solidly attached
With the lock securely installed, the lock is designed to allow the handlebars to rotate a very small amount. The exclusive design keeps a thief from simply breaking the lock to steal the bike. The is less than a 1/2 a degree. This is approximately +/- 2mm at the ends of the handlebars. There is no impact on bike steering and control, and no additional wear or tear to the lock.
The key is hard to turn while securing the handlebars
The lock is designed with tolerances in microns. The lock cam must be aligned with the lock slot accurately. If you have trouble achieving this, it can be easily remedied.
To secure the handlebars stand facing the bike with the front wheel between your legs. Hold the front wheel steady between your legs. Make sure the handlebars are aligned with the lock. Use one hand to turn the key. Jiggle the handlebars lightly with your other hand while turning the key.
The alarm goes out of range and I have not moved
There are two reasons this can happen. First, objects moving between you and the bike can cause the signal to be blocked (usually) temporarily. If it happens more than you might like, there is a setting on the application to delay the signal lost alarm. While the visual display will trip, the audio/vibrate alarm will be delayed based on your setting. The delay can be set to as long as 30 seconds.
My tamper alarm went off but stopped and now says signal lost
Once the tamper alarm trips it will send the tamper signal for a number of minutes before shutting down to conserve battery power. To restart transmitting, lock and unlock the handlebars.
The alarm is set, I'm standing next to the bike but it says no signal
Once the tamper alarm trips it will send the tamper signal for a number of minutes before shutting down to conserve battery power. To restart transmitting, lock and unlock the handlebars.
I reset the lock but the alarm keeping sounding
The alarm will continue to go off until the STOP button is pushed.
The bike alarm went off but nobody moved the bike
The tamper alarm is sensitive depending upon the direction of disturbance. Brushing up against the bike is sufficient to set off the alarm at times. Make sure you place the bike in a stable position before walking away.
The bike was disturbed but the alarm did not go off
The application must be in the foreground in order to signal an alarm. While in the background the application is suspended until it is brought into the foreground.